Silhouette Cutouts - DIY Project
 Agent Wade
Ann ArborPosts: 321MI6 Agent
Because in a month I will be moving to a new place, I have been actively considering many options and concepts for decorating the rooms. The theme for the bedroom I have going is a romantic getaway with a hint of sensuality. To me, nothing says that faster than the evocative silhouettes from the Bond movies. That is why I decided to get myself some. And since you don't just walk into a store and buy silhouettes of naked women and men in tuxedos with sidearms, you have to get creative. If anyone else was curious about what you need to do to get something that looks like what I've done, you're in luck. I'm giving out this tutorial.
The first step to the process is to find good reference images. (This applies only if you aren't very good at drawing, like me.) I searched my photo reserves and finally found something that would work well for the lady. I kept in mind that my parents would on occasion visit and possibly see this, so I wanted something sexy, but still appropriate for when my mother walked in the room. I found what I was looking for in the model Dita Von Teese who has a vintage profile, something I was looking for to homage the older Bond titles. My search for my "Bond" was a bit more difficult as it actually isn't that easy to find a good full-body profile shot of James Bond. I at last found my guy from the DeviantArt community at http://della-stock.deviantart.com/art/Bond-Against-the-Wall-55788370
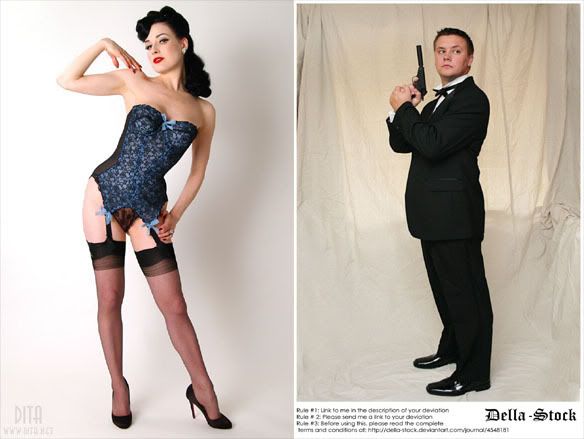
Once I had my source images, I was ready to modify them so that they fit the parameters of a silhouette. I used Photoshop to crop out their backgrounds and darken them to a solid black.

Depending on what size you're looking for will depend on what kind of (in my case) wood you're looking for. I just needed something about 2-feet tall, so I went to a craft store and bought the thinnest plywood which was 1/8 inches deep.
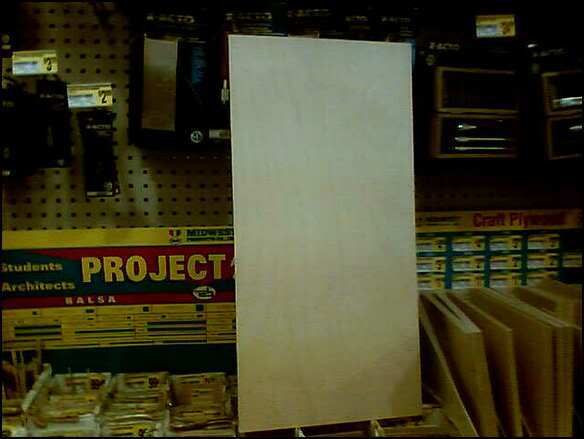
I measured the wood and figured the size that I needed to make the silhouettes. Because I didn't have a projector, I had to print out my patterns and tape them to the wood. Coincidentally, both shapes fit snugly onto the wood like a pair of shoes in a shoebox.
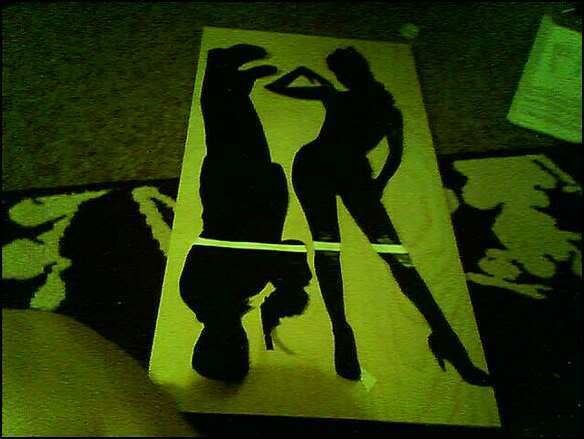
I then traced my figures in pencil. You may have noticed that I widened the heel on Dita. While I do enjoy a good stiletto, the probability of the shape coming out right after going at it with a compass saw is not real good. So I widened it.
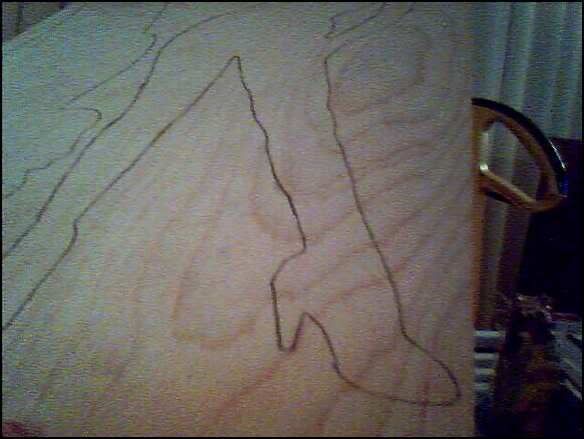
The easy part took a little break so that I could spend quality time with a compass saw and two days of my life to cut these things out. If you think that cutting curves into wood by hand is difficult, you are absolutely right. You have to consider both the fact that wood doesn't bend like paper does, and that it splinters.
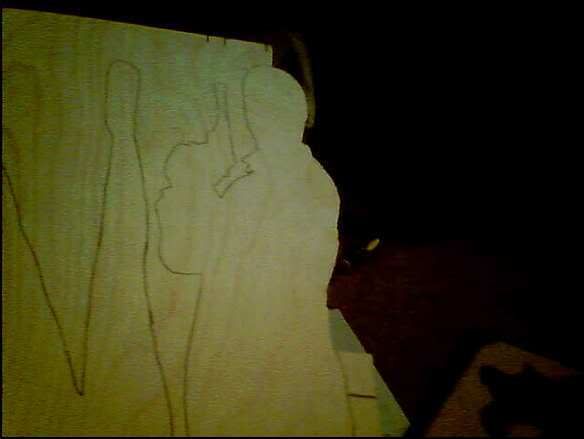
Two days later, my shapes were finished, but not yet ready for painting. I had rough edges, chipped wood and details that still didn't fit my liking.
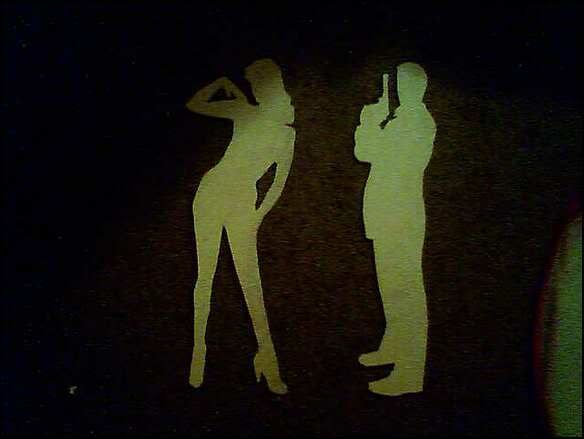
Usually, the cure-all to rough edges is very coarse sand paper. I did my best to not think about the fact that I was rounding off Dita Von Teese's very lovely posterior. For the smaller sections I used a small drill bit and a utility knife. Wood filler from Minwax is what I used to patch the parts that flaked off during my cutting, mostly in the lady's arms. I then used a finder grain sand paper to finish the wood.
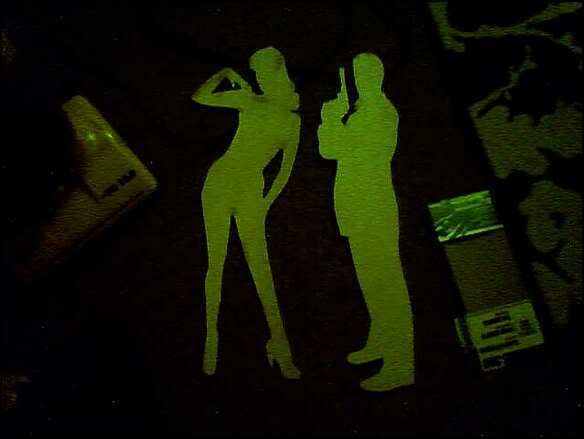
Finally the time came to paint. I used a black spray paint. I would put on a coat every 2 or three hours. (Of course I slept too.) After five coats, I sanded the project with fine grain sand paper. Had I not, it would have taken longer for the look of the wood grain to go away. Finally after 10+ coats of paint, the silhouettes were finished. They took on a very shiny veneer and have impressed everyone to lay eyes on them.
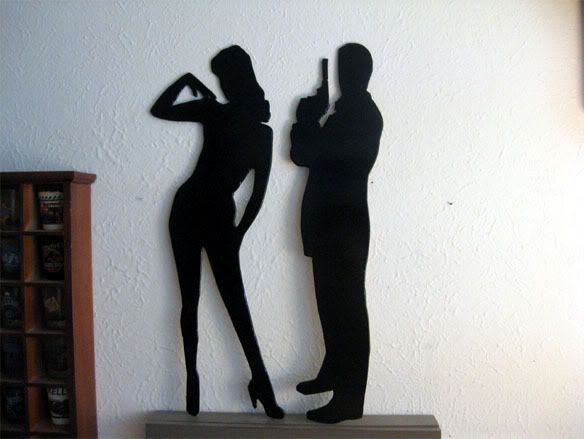
All in all, the project cost me $12 because I needed to buy the saw and the wood. I already had the sandpaper, paint and other tools. I now have something very nice to display with my other bedroom décor.
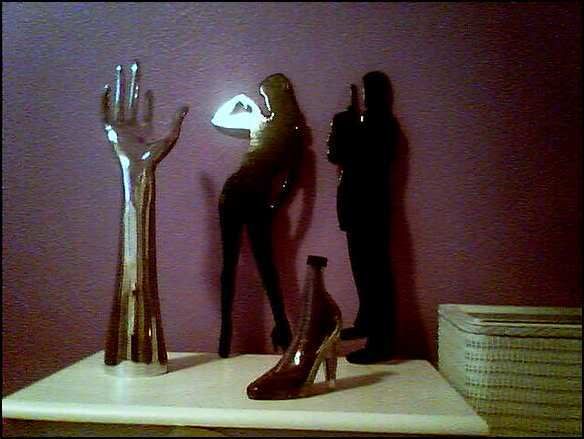
I hope that you found this tutorial informative and perhaps useful. It was a lot of work but a lot of fun too. Maybe when I get a bigger place, I'll use bigger plywood and give this another go.
The first step to the process is to find good reference images. (This applies only if you aren't very good at drawing, like me.) I searched my photo reserves and finally found something that would work well for the lady. I kept in mind that my parents would on occasion visit and possibly see this, so I wanted something sexy, but still appropriate for when my mother walked in the room. I found what I was looking for in the model Dita Von Teese who has a vintage profile, something I was looking for to homage the older Bond titles. My search for my "Bond" was a bit more difficult as it actually isn't that easy to find a good full-body profile shot of James Bond. I at last found my guy from the DeviantArt community at http://della-stock.deviantart.com/art/Bond-Against-the-Wall-55788370

Once I had my source images, I was ready to modify them so that they fit the parameters of a silhouette. I used Photoshop to crop out their backgrounds and darken them to a solid black.

Depending on what size you're looking for will depend on what kind of (in my case) wood you're looking for. I just needed something about 2-feet tall, so I went to a craft store and bought the thinnest plywood which was 1/8 inches deep.

I measured the wood and figured the size that I needed to make the silhouettes. Because I didn't have a projector, I had to print out my patterns and tape them to the wood. Coincidentally, both shapes fit snugly onto the wood like a pair of shoes in a shoebox.

I then traced my figures in pencil. You may have noticed that I widened the heel on Dita. While I do enjoy a good stiletto, the probability of the shape coming out right after going at it with a compass saw is not real good. So I widened it.

The easy part took a little break so that I could spend quality time with a compass saw and two days of my life to cut these things out. If you think that cutting curves into wood by hand is difficult, you are absolutely right. You have to consider both the fact that wood doesn't bend like paper does, and that it splinters.

Two days later, my shapes were finished, but not yet ready for painting. I had rough edges, chipped wood and details that still didn't fit my liking.

Usually, the cure-all to rough edges is very coarse sand paper. I did my best to not think about the fact that I was rounding off Dita Von Teese's very lovely posterior. For the smaller sections I used a small drill bit and a utility knife. Wood filler from Minwax is what I used to patch the parts that flaked off during my cutting, mostly in the lady's arms. I then used a finder grain sand paper to finish the wood.

Finally the time came to paint. I used a black spray paint. I would put on a coat every 2 or three hours. (Of course I slept too.) After five coats, I sanded the project with fine grain sand paper. Had I not, it would have taken longer for the look of the wood grain to go away. Finally after 10+ coats of paint, the silhouettes were finished. They took on a very shiny veneer and have impressed everyone to lay eyes on them.

All in all, the project cost me $12 because I needed to buy the saw and the wood. I already had the sandpaper, paint and other tools. I now have something very nice to display with my other bedroom décor.

I hope that you found this tutorial informative and perhaps useful. It was a lot of work but a lot of fun too. Maybe when I get a bigger place, I'll use bigger plywood and give this another go.


Comments
{[]
DG
"People sleep peacefully in their beds at night only because rough men stand ready to do violence on their behalf." Richard Grenier after George Orwell, Washington Times 1993.